Product categories:
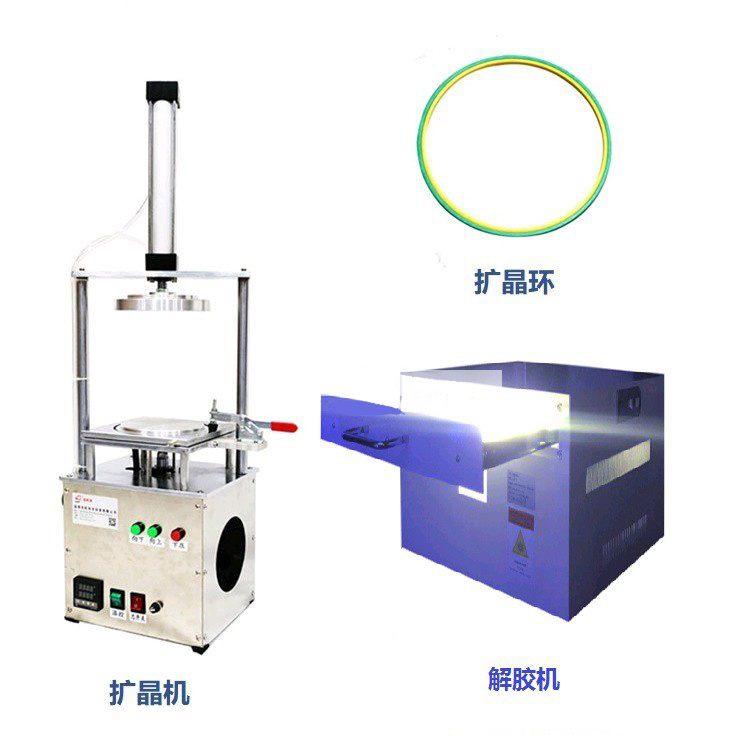
4-inch wafer expansion machines, 6-inch wafer expansion machines, 7-inch wafer expansion machines, 8-inch wafer expansion machines, 10-inch wafer expansion machines, 12-inch wafer expansion machines, DISCO wafer expansion rings
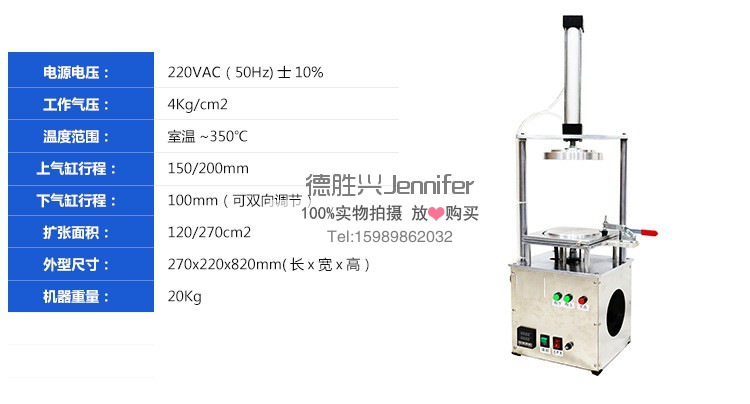
I. Purpose of the machine:
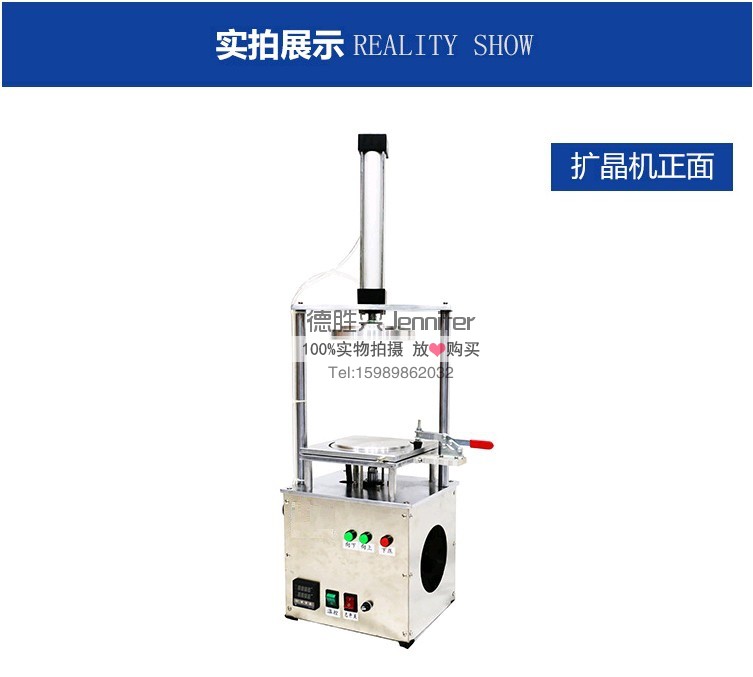
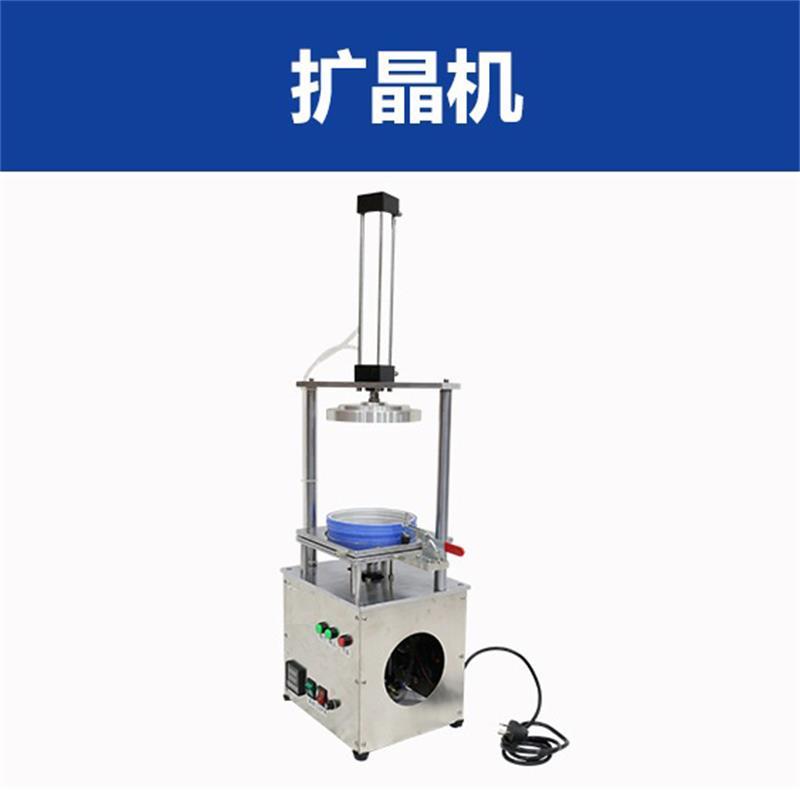
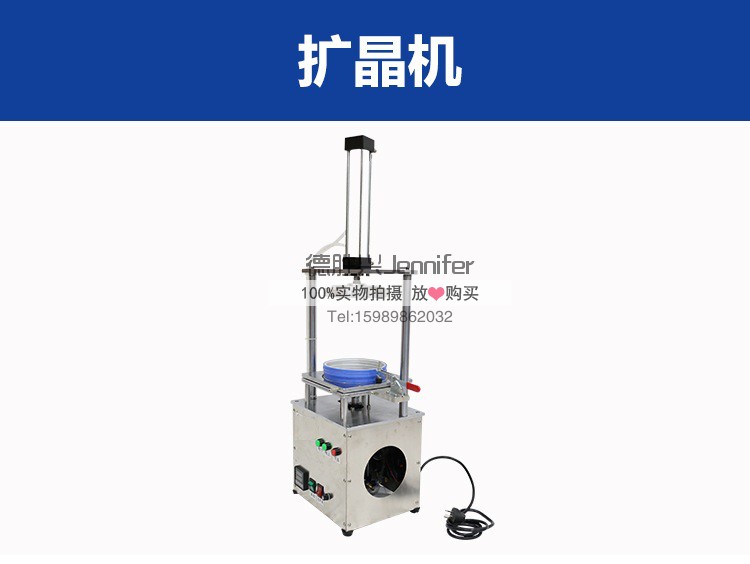
The DSXUV-EP series wafer expansion machines are widely used in the wafer expansion processes at manufacturers of light-emitting diodes, small and medium-power transistors, backlight units, LEDs, integrated circuits and certain specialised semiconductor devices.
II. Machine Features:
① Utilises dual cylinders for vertical control;
② Constant-temperature design, ensuring uniform and moderate expansion around the diaphragm;
③ Heating, stretching, grain refinement and film formation are all carried out in a single process;
④ The heating temperature, expansion time and return speed are all uniformly adjustable;
⑤ Easy to operate, with high output per shift;
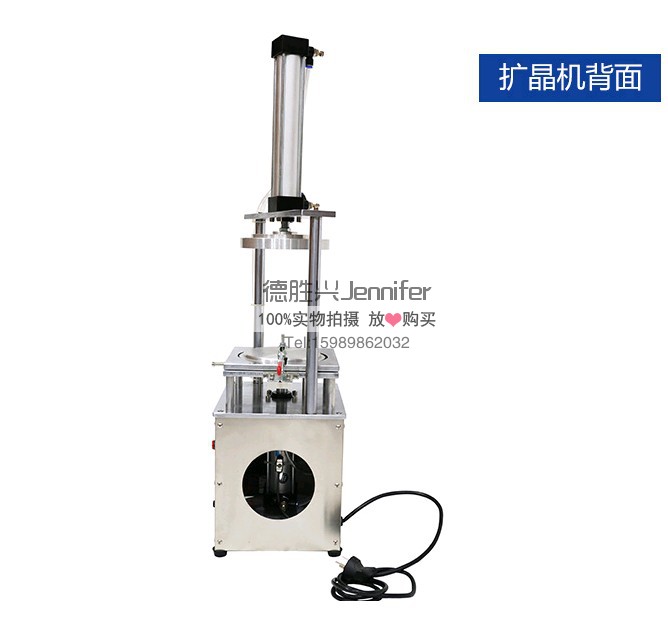
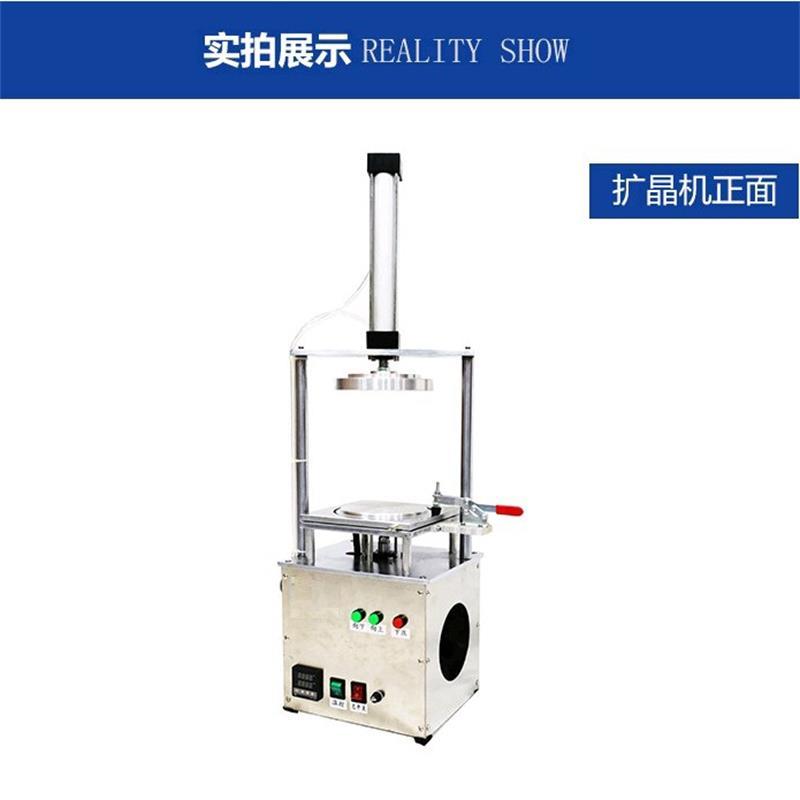
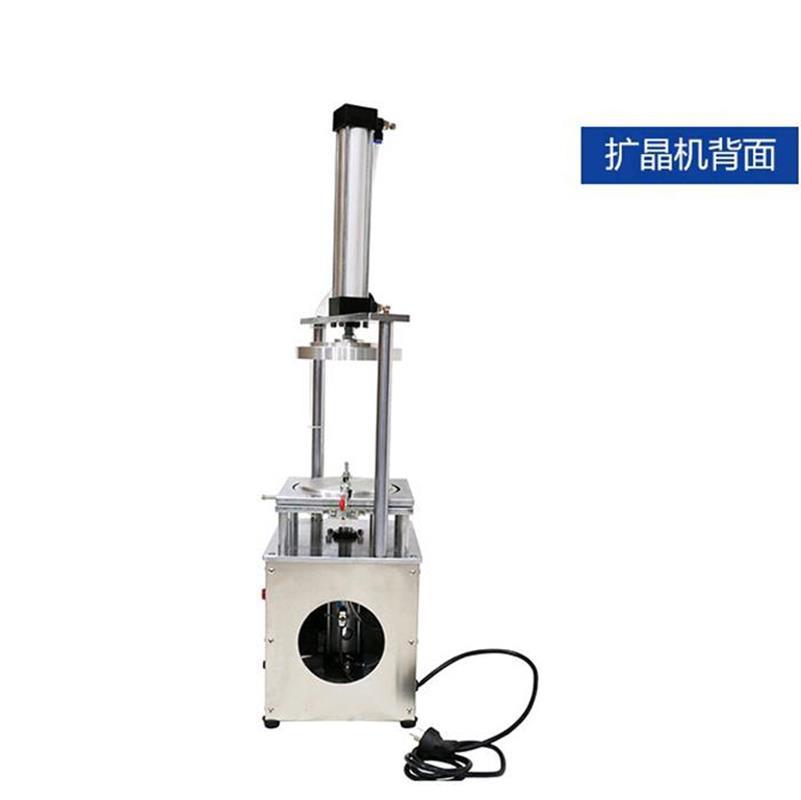
⑥ Please refer to the actual machine for its appearance.
The entire machine is constructed using high-quality components, with all machined parts manufactured from high-strength aluminium alloy and stainless steel. This ensures the equipment’s durability.
3. Procedure:
1. Plug in the power supply and connect the quick-release coupling to the high-pressure air hose;
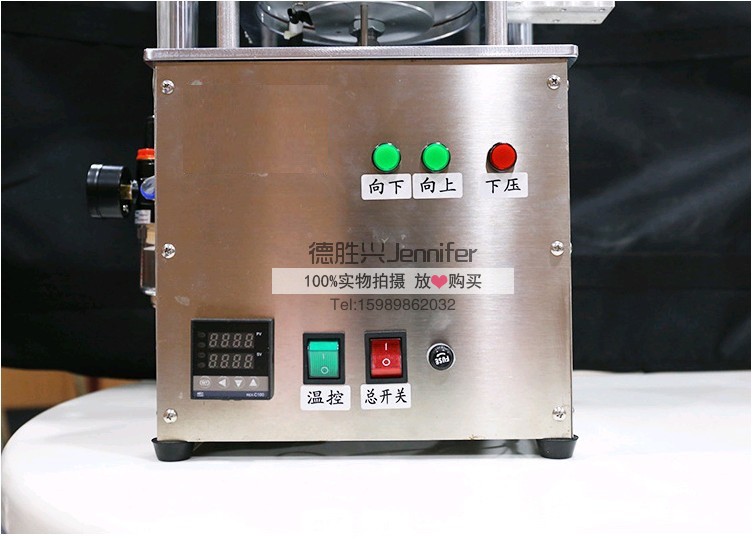
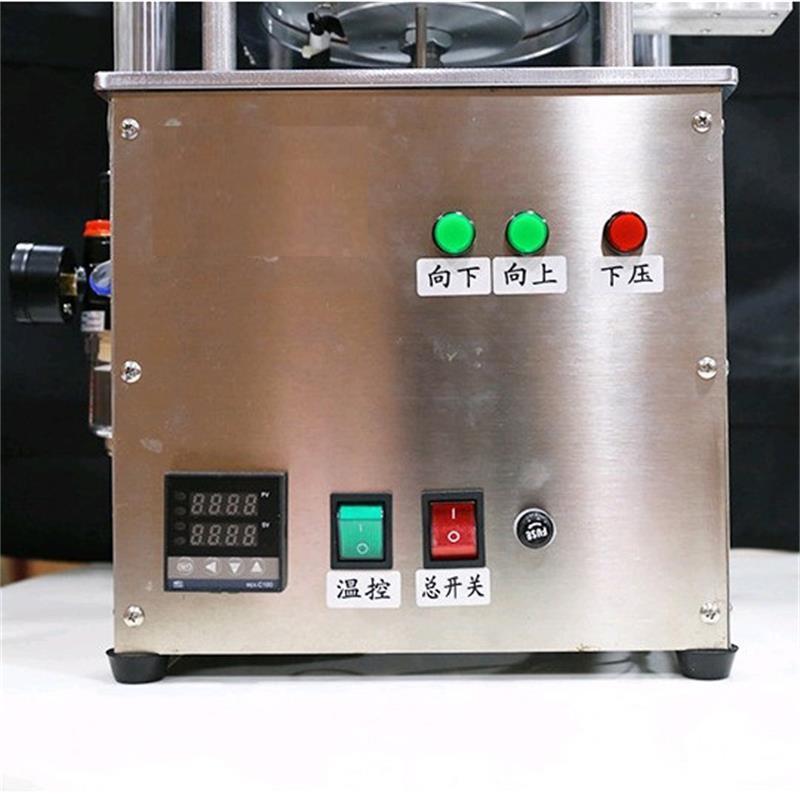
2. Switch on the power and set the temperature to 60 °C (film temperature may vary by ±5 °C depending on the wafer);
3. Set the upper cylinder switch to the “Up” position; the upper die will return to the top. Set the lower cylinder switch to the ‘Down’ position; the lower die will return to the bottom (repeat the lower cylinder movement several times to adjust the upward speed to a suitable level).
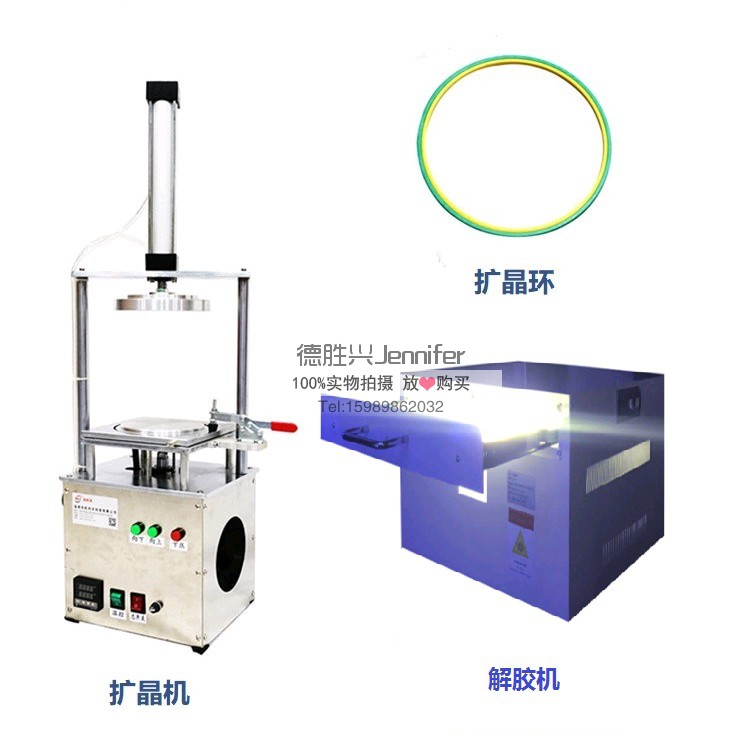
4. Release the latch, lift the upper workpiece plate, place the inner ring of the wafer expansion ring onto the lower die, then position the wafer-adhered flip-chip film in the centre of the lower workpiece with the wafer facing upwards. Close the upper workpiece plate and secure the latch.
5. Set the lower cylinder switch to the “Up” position; the lower die will rise slowly, the film begins to diffuse in all directions, and the spacing between the grains gradually increases. When the spacing between the grains has expanded to 2–3 times its original size, stop the ascent and place the outer ring of the grain-expansion ring flat on the film, with the rounded edge facing downwards, directly above the inner ring.
6. Set the upper cylinder switch to the “Down” position; the upper die will lower, securely clamping the expanded crystal-turning film into place, after which the upper die will return to its upper position.
7. Set the lower cylinder switch to the “Down” position; the lower die-cutting mould will lower into place. Remove the die-expansion film from which the die has been expanded, trim off any excess film, and send it to the next stage for die bonding.
4. Maintenance:
1. Wipe off any dust with a clean cloth, and regularly apply a small amount of machine oil to moving parts to lubricate them;
2. The surface on which the wafer flipping film is placed must be clean; any grease or dust on it will contaminate the wafer, resulting in defective products.
5. Points to note:
1. Never bring your hands close to or place them on the pressing surface whilst the cylinder is in operation;
2. Do not strike or rub the surface of the lower die with sharp objects, as this may cause scratches;
3. The machine must be correctly and securely earthed during installation;
4. There is a risk of electric shock from the power supply inside the cabinet; the cabinet door must be securely locked;
5. When replacing heating elements or other electrical components, this must only be carried out with the power plug disconnected;
6. Never wipe the machine with a cloth dampened with water or solvent, as this may result in an electric shock or fire hazard.
6. Air connection: Standard industrial air connection
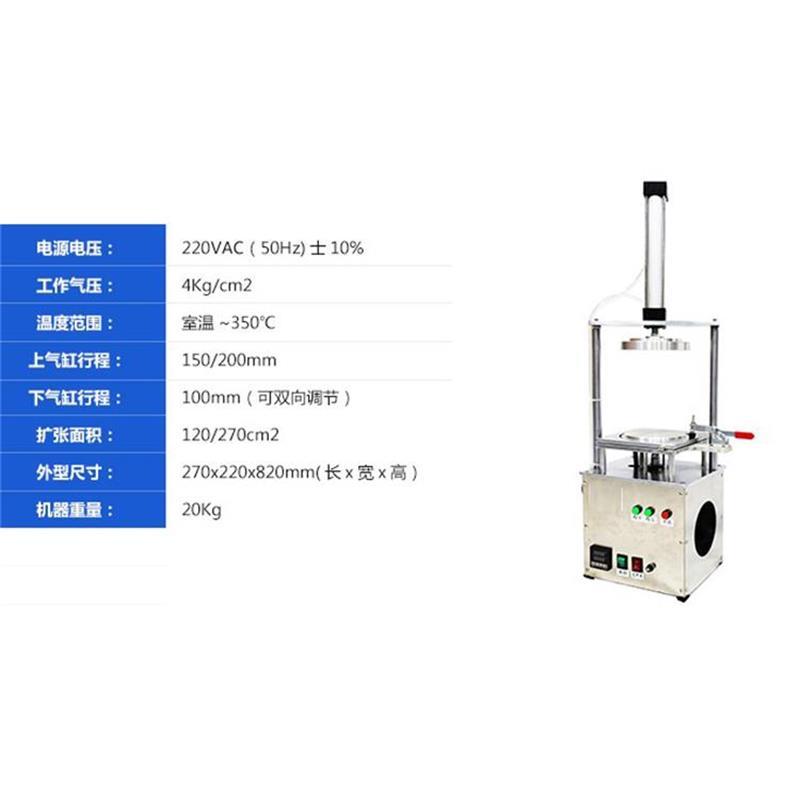
Tracheal tube diameter: 8 mm
Pressure gauge: 0.6–0.8
Current: 2A
7. After-sales service:
The product comes with a one-year warranty and lifetime maintenance.
The above details the 4-inch, 6-inch, 7-inch, 8-inch and 10-inch LED wafer expansion machines (pictured). If you have any queries regarding the prices, manufacturers, models or images of these machines, please contact us for further product information.